How to: Implement Customer Accounts
Customer accounts for Square Online enable a direct relationship between sellers and their customers; they are the foundation for a more personalized buyer experience to drive repeat purchases.
When buyers create an account with your online business, they can:
- Track the status of existing orders.
- Reference past orders and easily reorder their favorites.
- View and edit Square Pay information for a faster checkout experience on future orders.
You can read more about customer accounts here.
Currently, customer accounts functionality is only available for sellers in the US.
1. Enabling customer accounts
The first step is to make sure that customer accounts are enabled for your website. Customer accounts can be enabled/disabled via the menu option at the bottom of the left-side navigation on Square Online.
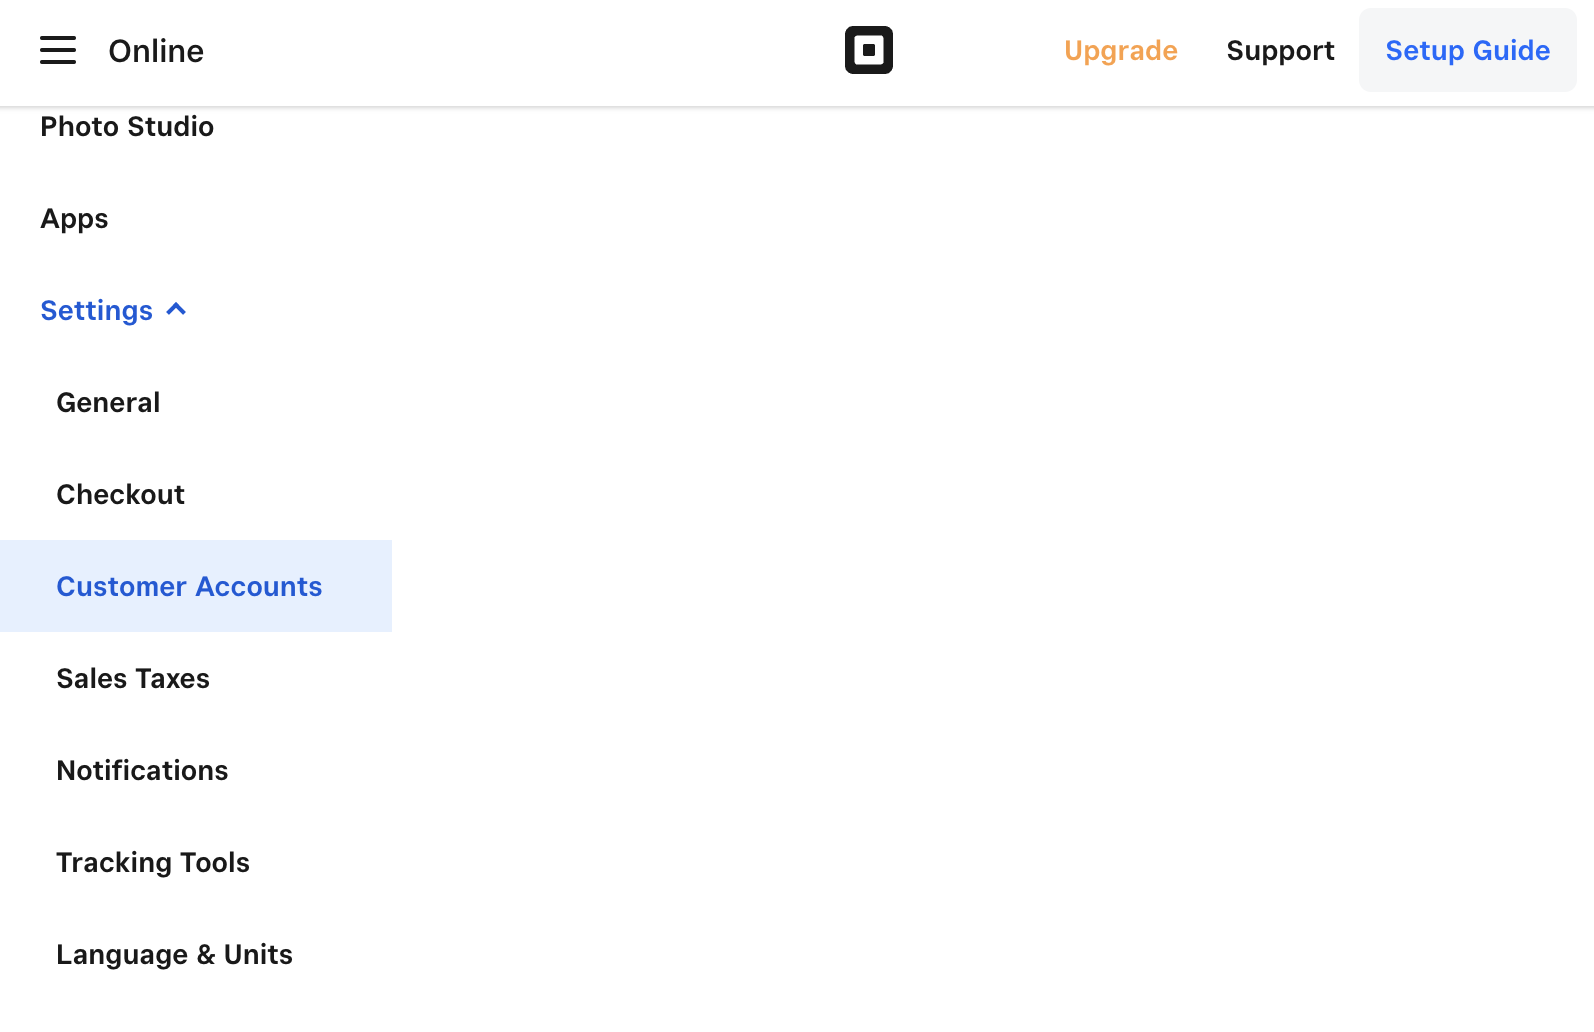
Alternatively, users can access the customer accounts control panel by visiting this link.
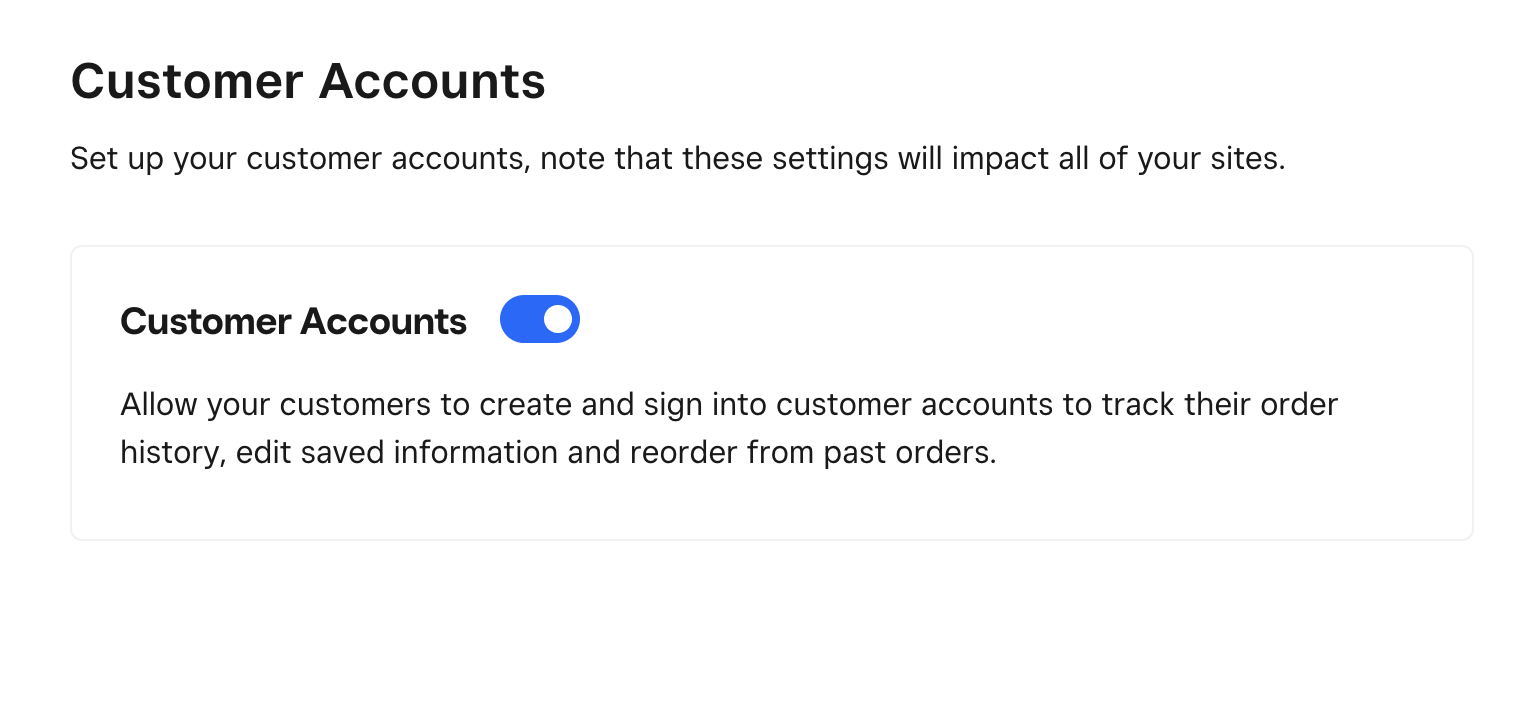
Once viewing the customer accounts control, make sure the toggle for Customer Accounts is set to the on position:
2. The customer experience
Once customer accounts are enabled, paying customers will be given the option to sign up for an account on your website, validating with their phone number. This account will give the customer the ability to:
- receive order status notifications
- view their order history and quickly reorder
The signup process and customer account portal can be loaded by visiting the route /s/customer-accounts/ on your published site. First time or logged out customers will be presented with a dialog allowing them to view their account using their phone number:
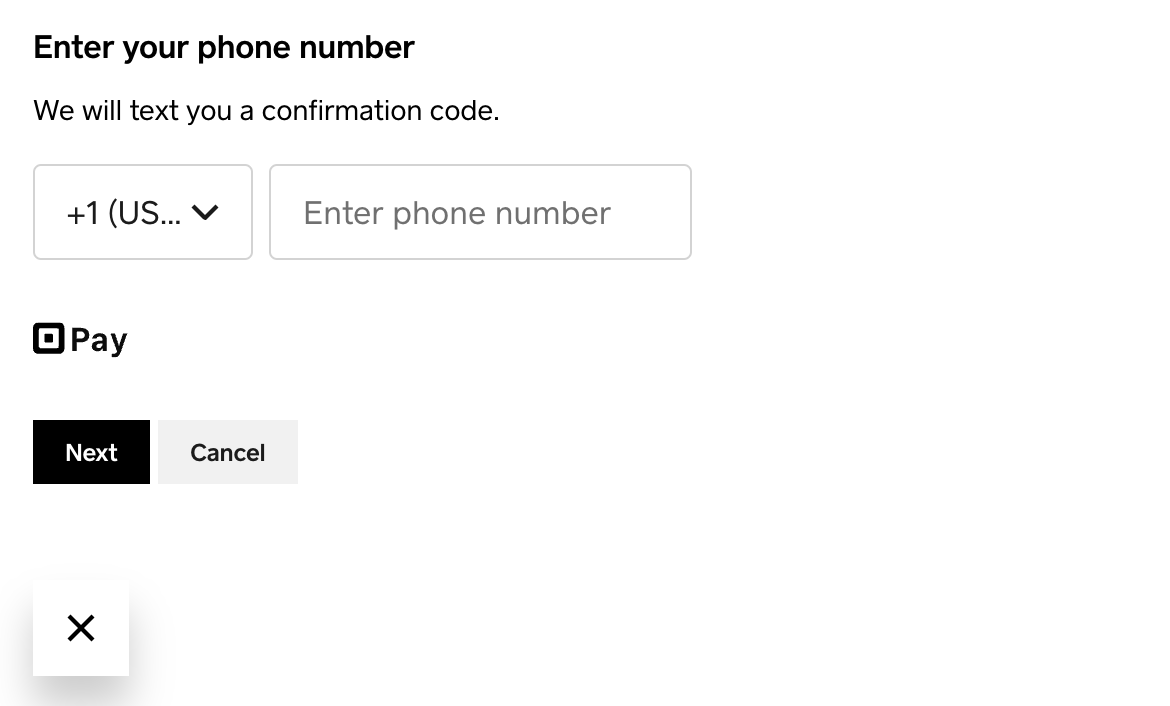
Alternatively, you can code your own implementation of the login flow by using the customer-accounts-login functionality.
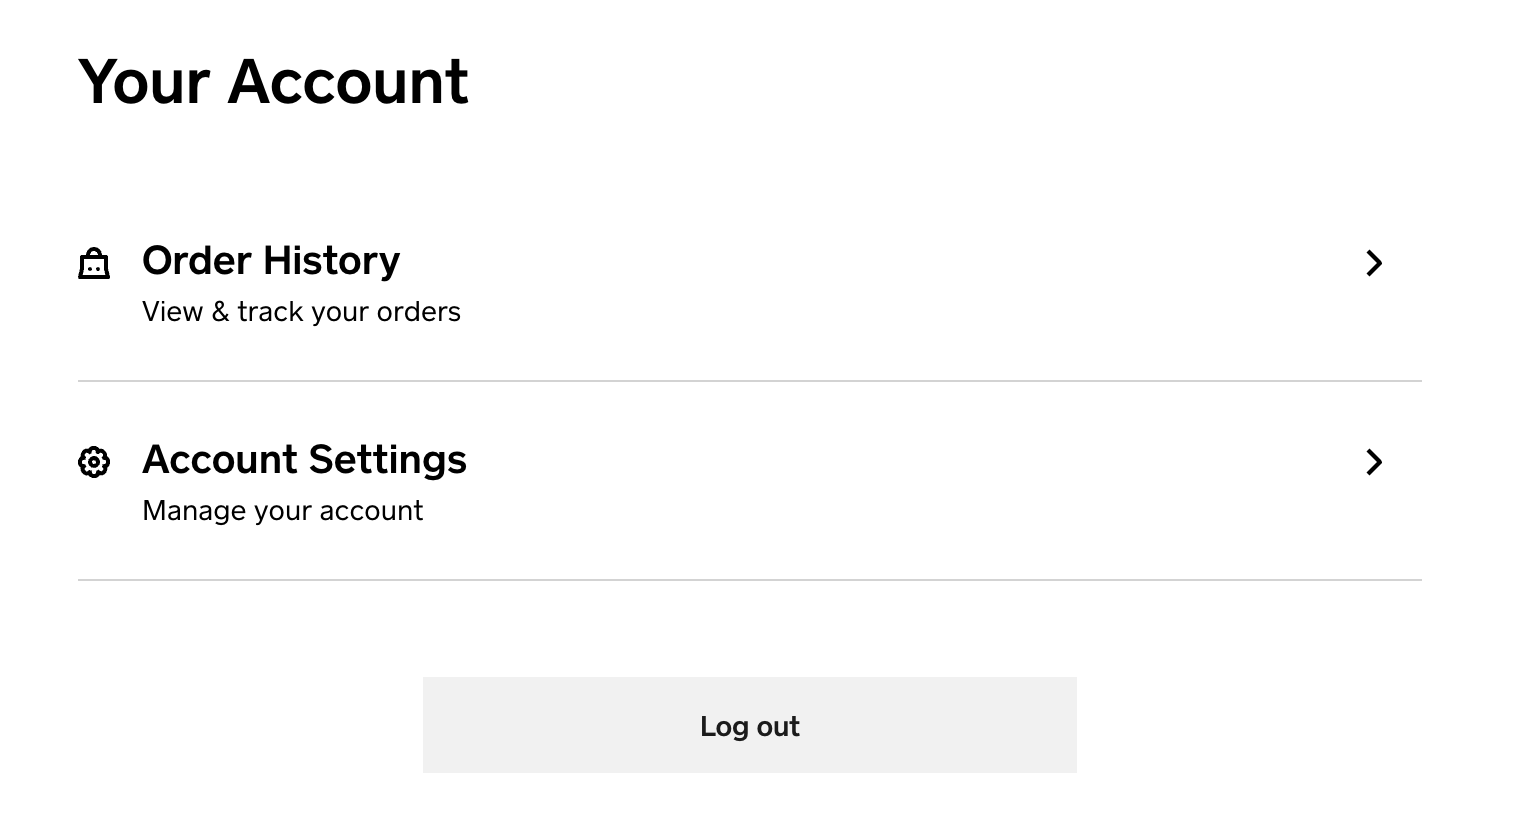
Once validated, users can review their account as well as their previous orders:
3. Using the customer-account resource
Once one of your customers has signed up, the customer-account resource will be populated and will allow you to reference targeted information about your visitor.
The customer-account resource is automatically available in your template.
Simply include a reference with the name of your choice in your schema:
{% schema %}
{
	"customer": {
		"type": "customer-account"
	}
}
{% endschema %}
For complete resource and usage documentation, see CustomerAccount Resource.