Get Started
Learn how to install and use the Square Online CLI to customize a site from your local development environment.
This tutorial describes the typical process for creating a new custom site. The following are the high-level steps:
Prerequisites
To complete the steps in this tutorial, the following prerequisites must be met. Some prerequisites depend on whether you run this tutorial against a site in your own Square developer account or in a seller’s Square Online account.
-
nvm installed on your computer.
- A Square developer account, with a registered application.
- Copy your application ID from the Credentials or OAuth page in the Developer Dashboard so you can provide it to the Square team.

- An access token to authorize your Square API requests. In this tutorial, the token is required to run Square Online CLI commands. For more information, see Manage Access to the Square APIs.
- Provide your production access token if you’re testing against your own site.
- Provide an OAuth access token if you’re customizing a seller’s site.
-
To build a custom site for sellers who already have an existing Square Online site, we recommend creating a new site in the seller’s account to use as your development site. This requires that the seller’s account is configured as a multi-site account, which adds a site switcher dropdown menu to the Square Online dashboard. For more information, including considerations about switching to a multi-site account, see Choose Existing or New Site Development Option.
Use the following steps to create a new site in the Square Online dashboard. To open the dashboard:
- If you’re using your own Square developer account, sign in to the Square Online dashboard using your account credentials.
- If you’re creating a new site for the seller’s Square Online account, sign in to the seller’s Square Online dashboard.
- To learn how to create and configure your Weebly for Web Designers account to request access to Square Online accounts, see Set Up Your Weebly for Web Designers Account.
- To learn how to request access from a seller to their Square Online dashboard and how to open the seller’s dashboard, see Manage Access to the Seller’s Square Online Dashboard.
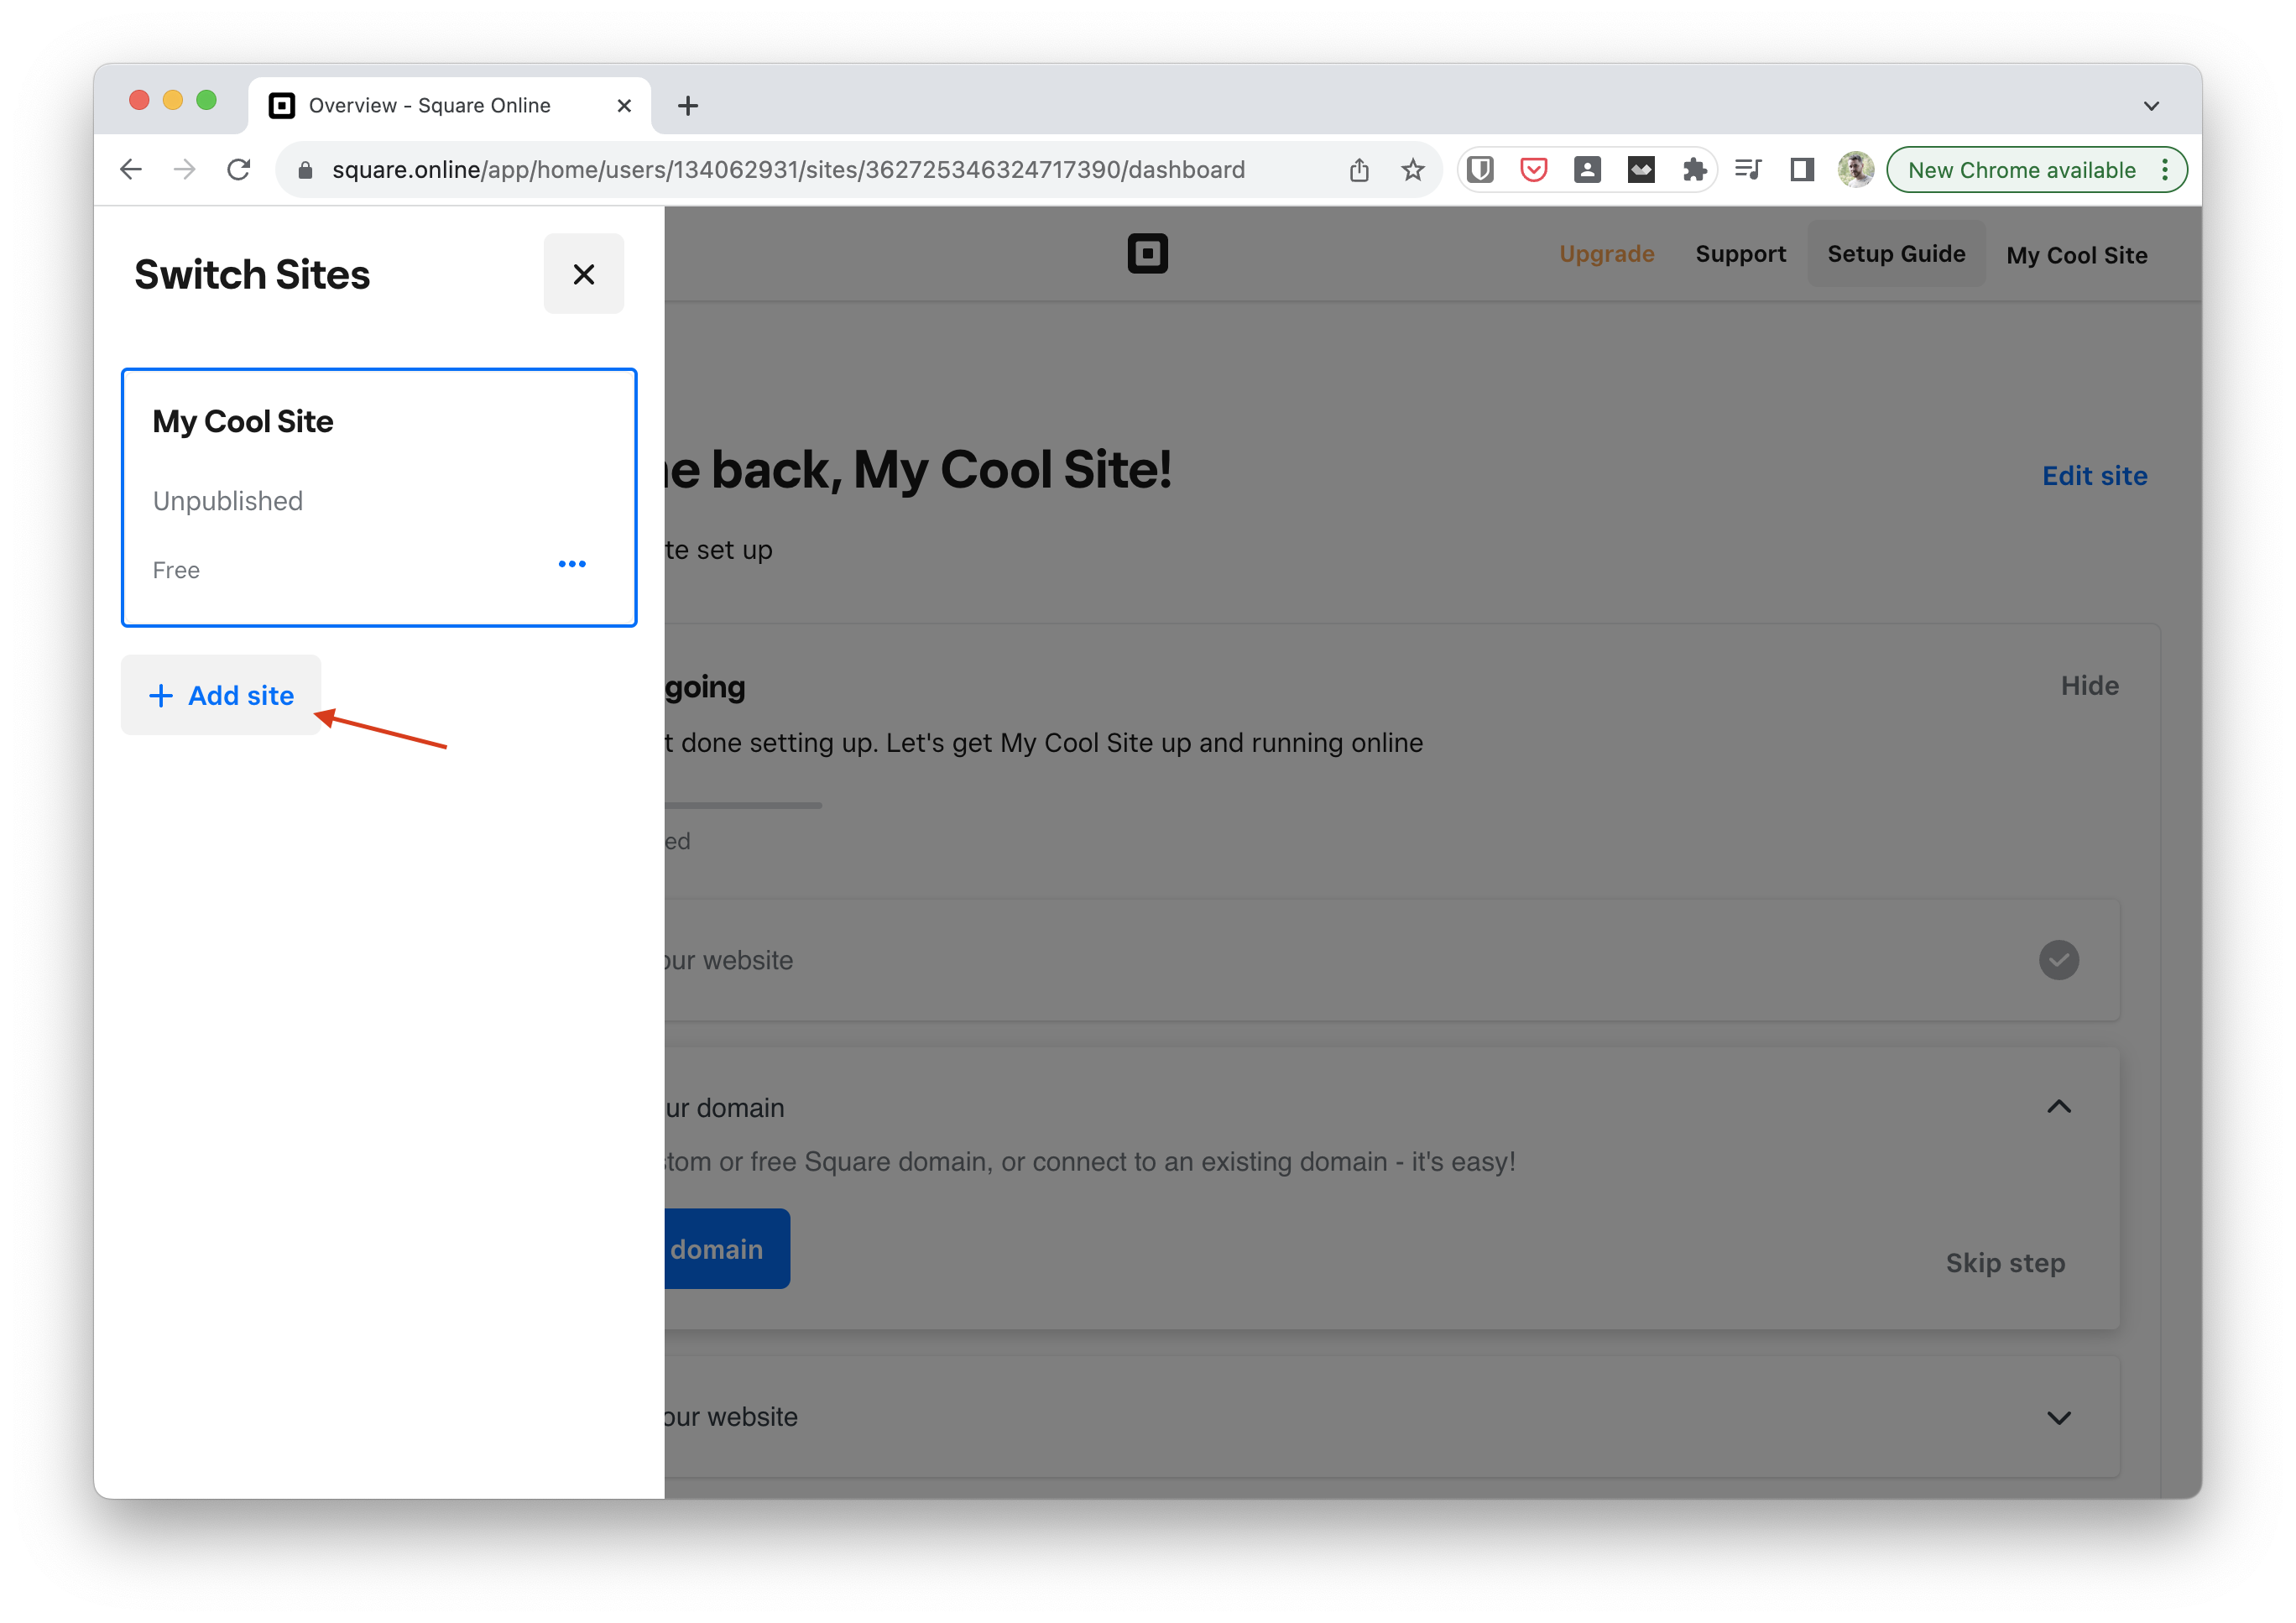
1. Switch to a multi-site account and create a new site
To switch from a single-site account to a multi-site account and create a new site, choose Add site from the account name in the upper right corner. If the account already supports multiple sites, you can add a new site from the site switcher dropdown menu.
2. Open the new site in the site editor
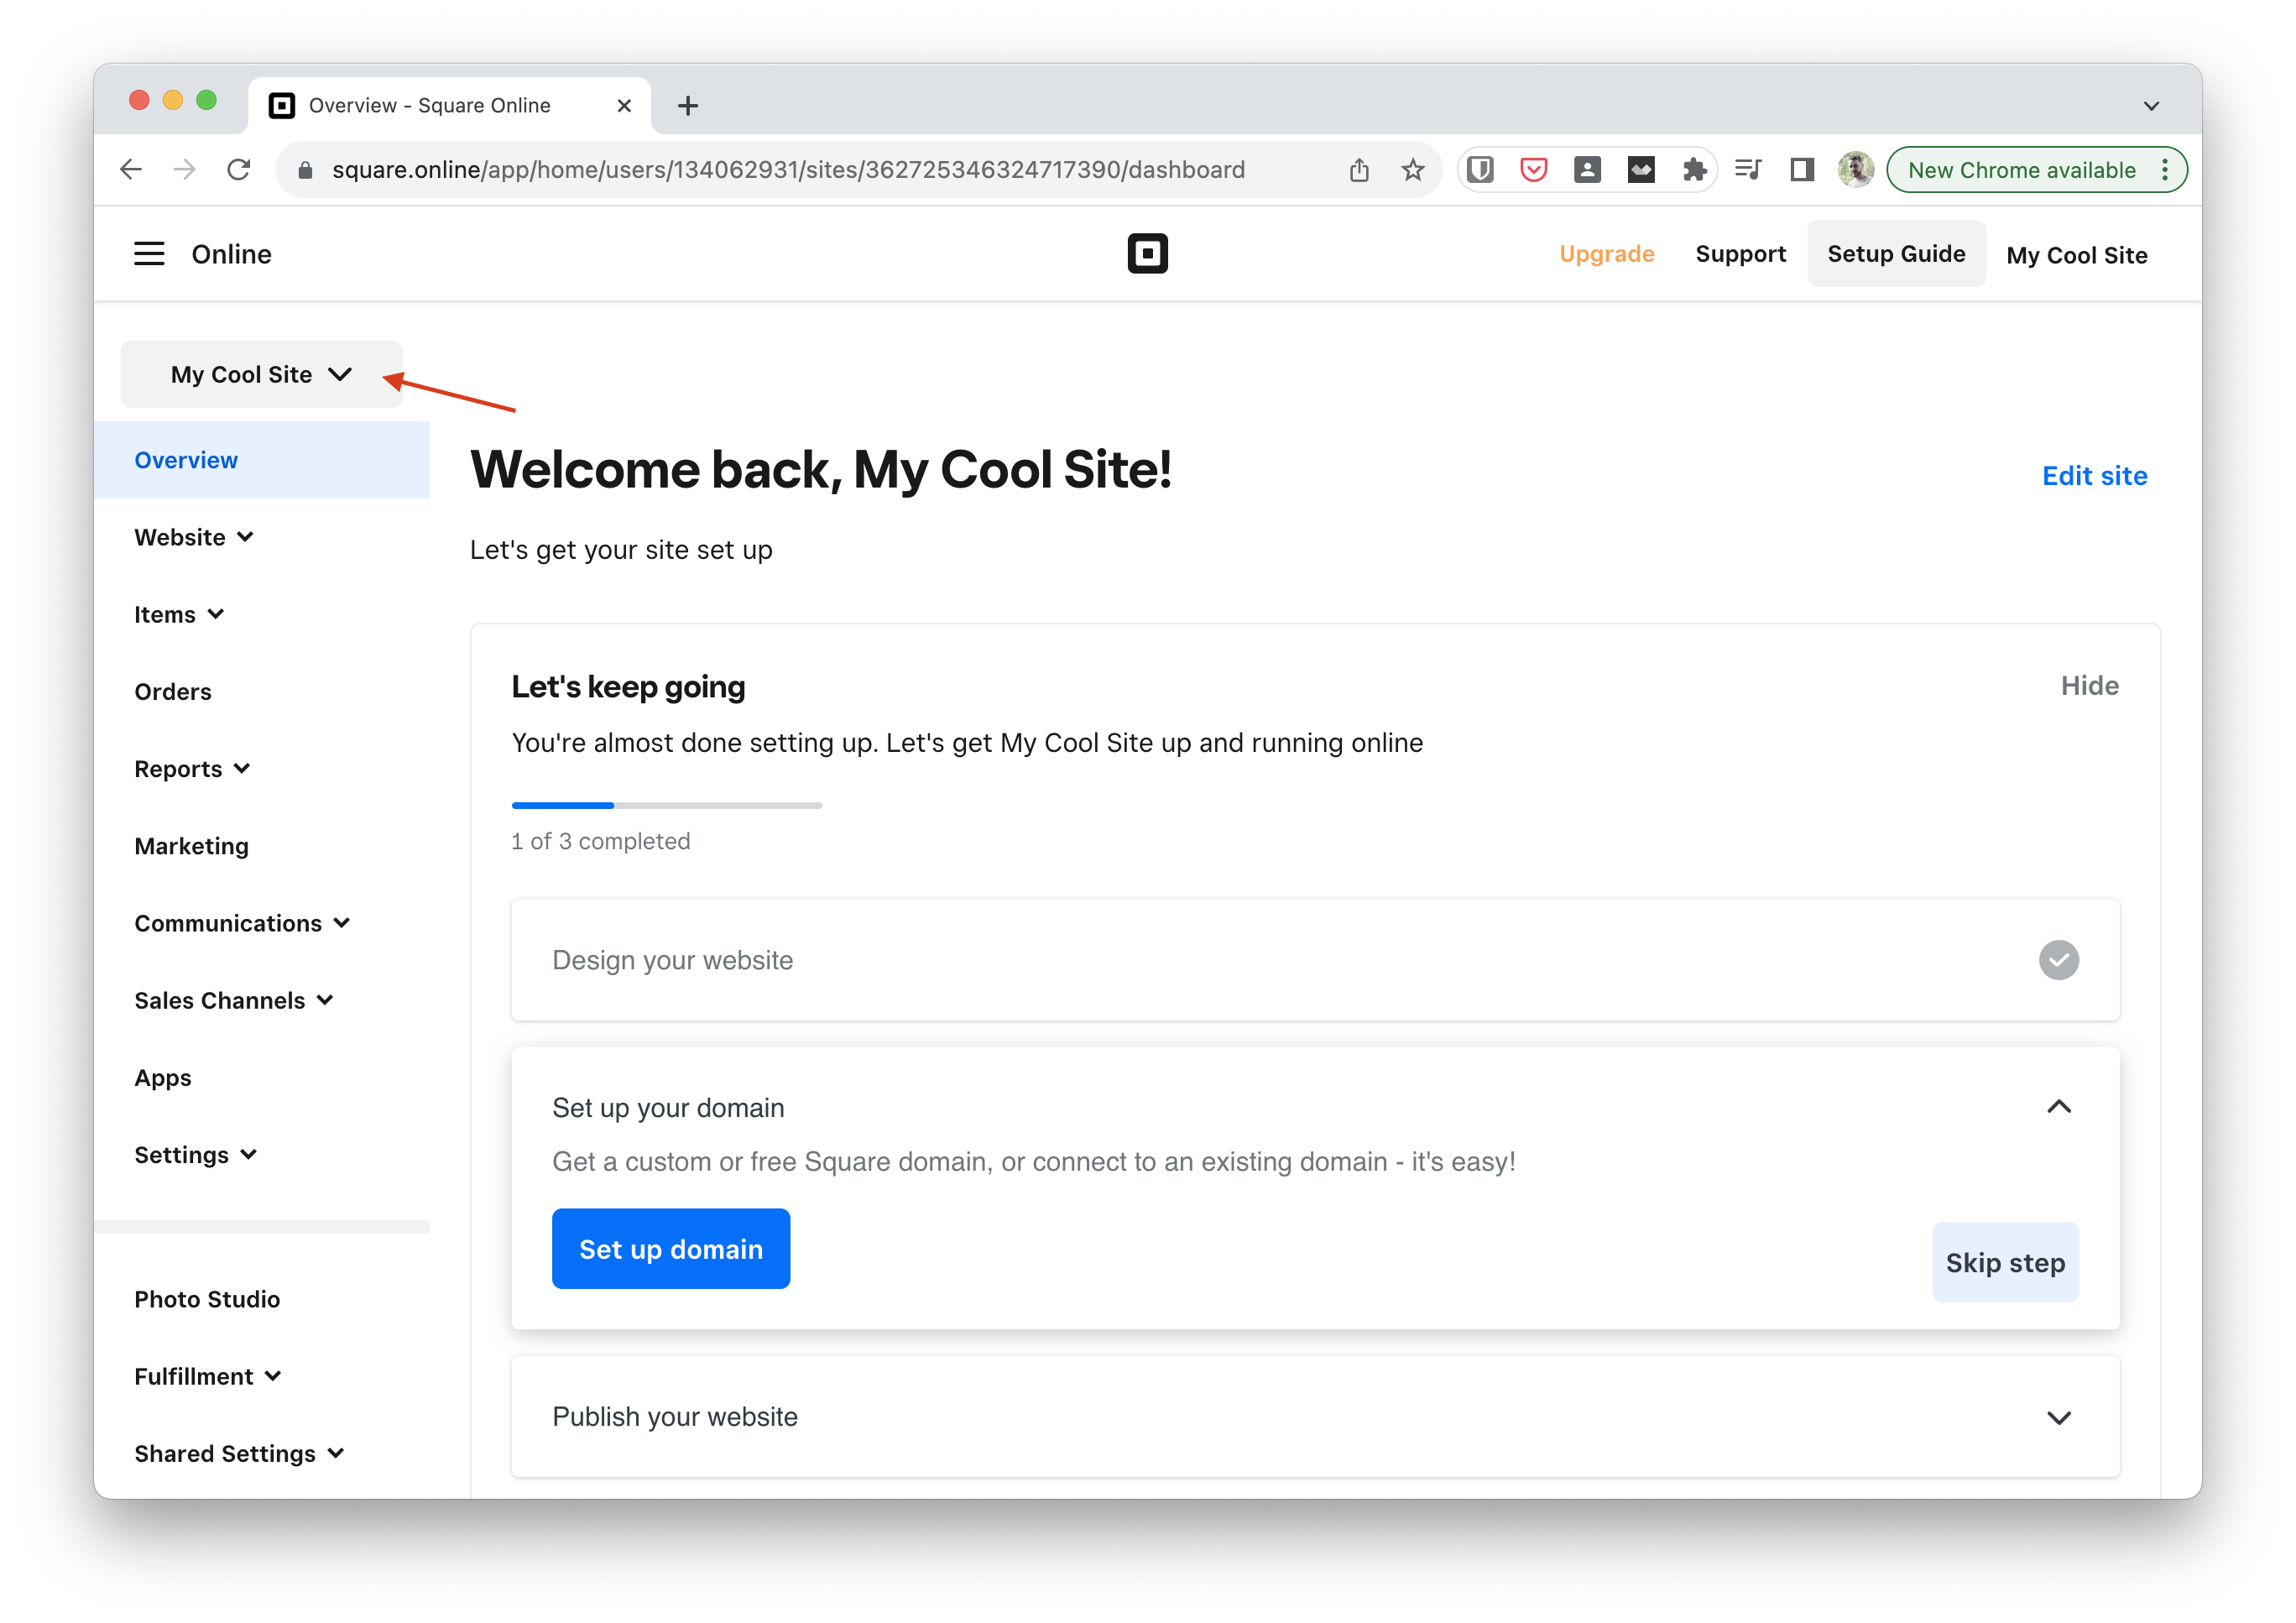
After creating the site in the Square Online dashboard, click Edit site to initialize the site by opening it in the site editor.
3. Copy the user ID
If this is the first time you’re building a Custom Site for this Square Online account, find the seller’s user ID so you can provide it to the Square team:
- Open the site in the Square Online dashboard and copy the user ID from the address bar. For example:
https://square.online/app/home/users/<COPY_THIS_USER_ID>/sites/123456789/dashboard#_=_
Provide the application ID and user ID to the Square team
Send your application ID and the seller’s user ID to the Square team using this Google Form. The team will use the IDs to add you to the allow list for custom site development so you can use the Square Online CLI to access your site. Contact the Square team in the #lightning-agency-support slack channel if you have any questions.
Step 1: Install the CLI
The Square Online CLI provides commands you can use to initialize a theme on a Square Online site and manage site files locally. CLI commands are wrapper commands for the Sites API.
-
Download the CLI tool from GitHub here.
-
Run the following commands from the source directory.
nvm use npm ci npm run build npm link -
The CLI should now be available in your path. To verify, run the
helpcommand.site-theme-cli helpYou should see the following output:
Square Online CLI VERSION site-theme-cli/1.0.0 darwin-x64 node-v18.12.1 USAGE $ site-theme-cli [COMMAND] TOPICS theme Sub commands for theme development COMMANDS auth Authorizes Square Online CLI with Access Token. help Display help for site-theme-cli. -
Set the access token to use for your CLI commands.
site-theme-cli auth {YOUR_ACCESS_TOKEN} --forceThe
forceflag overwrites any previously saved access tokens.
Step 2: Install a theme
Install the theme on the Square Online site. This step initializes the site using files from the Brisk retail template.
-
Run
theme install.site-theme-cli theme install -
When prompted, choose the site you want to install the theme on. Use the up and down arrows to select the site, and then press Enter. Then select the installation of the default theme.
$ site-theme-cli theme install
  ____                                ___        _ _               ____ _     ___
 / ___|  __ _ _   _  __ _ _ __ ___   / _ \ _ __ | (_)_ __   ___   / ___| |   |_ _|
 \___ \ / _` | | | |/ _` | '__/ _ \ | | | | '_ \| | | '_ \ / _ \ | |   | |    | |
  ___) | (_| | |_| | (_| | | |  __/ | |_| | | | | | | | | |  __/ | |___| |___ | |
 |____/ \__, |\__,_|\__,_|_|  \___|  \___/|_| |_|_|_|_| |_|\___|  \____|_____|___|
           |_|
Select a site
❯ Widgets Inc
Select a theme
❯ Default
[INFO] Theme created with id site_theme_de1dbfc0-235c-11ab-be1f-47196676853b on site Widgets Inc
Step 3: Pull site and theme files
Before you can start making changes, you’ll need to clone the site and theme files to your computer.
-
Create and navigate to your local development directory.
mkdir -p ~/Desktop/lightning-dev && cd ~/Desktop/lightning-dev -
Run
theme pull. Choose the site the theme was installed on and the installed theme (brisk).$ site-theme-cli theme pull ____ ___ _ _ ____ _ ___ / ___| __ _ _ _ __ _ _ __ ___ / _ \ _ __ | (_)_ __ ___ / ___| | |_ _| \___ \ / _` | | | |/ _` | '__/ _ \ | | | | '_ \| | | '_ \ / _ \ | | | | | | ___) | (_| | |_| | (_| | | | __/ | |_| | | | | | | | | | __/ | |___| |___ | | |____/ \__, |\__,_|\__,_|_| \___| \___/|_| |_|_|_|_| |_|\___| \____|_____|___| |_| Select a site ❯ Widgets Inc Select a theme ❯ brisk -
Enter the name of the directory where you want to download the files.
Select a site
❯ Widgets Inc
Select a theme
❯ brisk
Enter the folder you would like your theme files to be downloaded to[brisk]>
The file download might take a few minutes.

When the files are downloaded, you can start making changes.
Step 4: Add your first page
In the previous step, you cloned all your theme files locally, but in order to preview the theme, you need to create a new page that references the theme files. You’ll need Page and Section files from the site/ folder of the Brisk Theme, which were provided to you by the Square Team.
- Copy over the following site files from
Briskinto your working theme directory./site/pages/home.json -> ~/Desktop/lightning-dev/brisk/site/pages/home.json /site/global/sections/header.json -> ~/Desktop/lightning-dev/brisk/site/global/sections/header.json /site/global/sections/footer.json -> ~/Desktop/lightning-dev/brisk/site/global/sections/footer.json - Inside
~/Desktop/lightning-dev/brisk/site/pages/home.jsonchange the route field totest{ ... route: "test", ... } - Push your changes.
site-theme-cli theme push - Get the preview link to see your newly created page.
site-theme-cli theme preview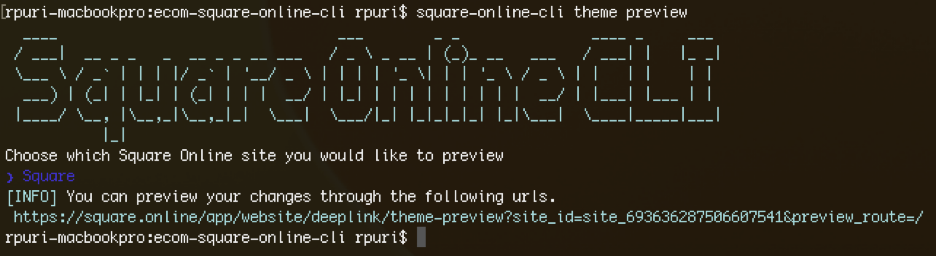
-
Follow the link to see the preview in the Square Online dashboard.
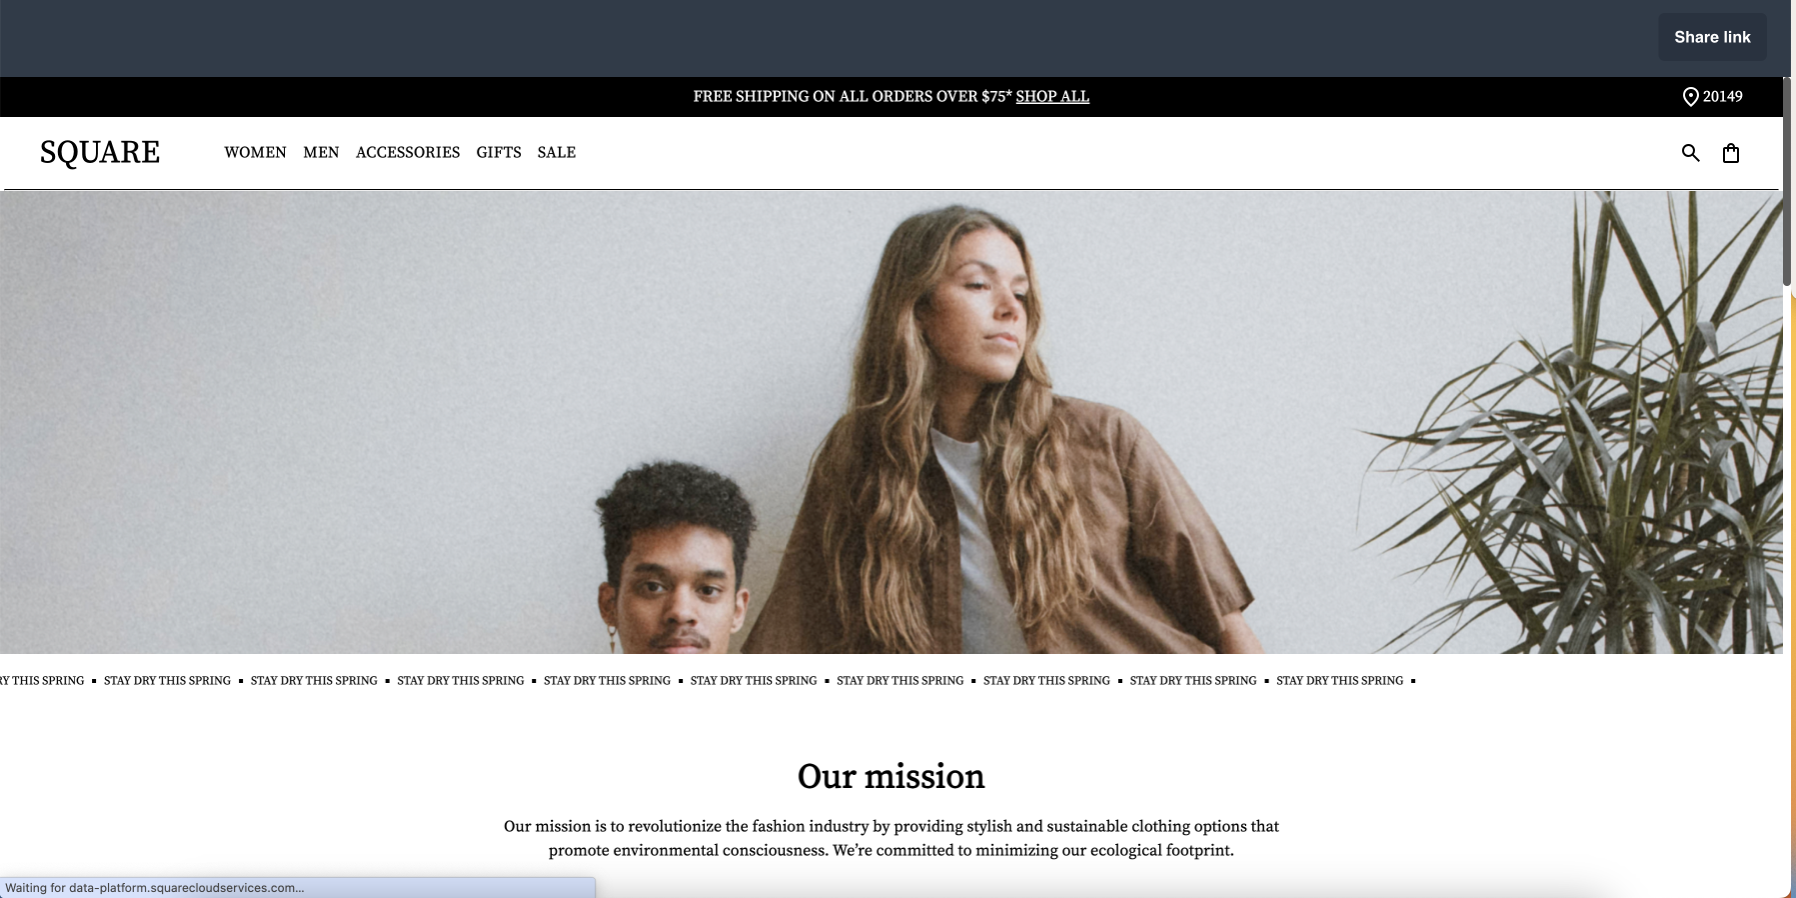
If you’re developing against a seller’s site and you’re not currently logged in to their Square Online dashboard, open the Weebly for Web Designers portal and log in to the seller’s dashboard. Then, refresh the preview page.
Developing in watch mode
As you become comfortable with using the CLI, we recommend using the watch command to speed up your development process.
The watch command watches for changes in your local development directory and automatically uploads the changes to the backend so you can quickly preview changes.
Additionally you can pass the --hotReload flag to automatically refresh any preview browser tab to reflect any changes sent to the backend.
site-theme-cli theme watch --hotReload
Publishing the new site
When you develop against a new site (instead of customizing an existing site) and the new site is ready, you can transfer the original domain to the new site.
If you need to revert changes, point the original domain to the original site.
For more information, see Choose Existing or New Site Development Option.
Next steps
Now that your local working folder is set up, you can try:
- Creating a new page.
- Accessing site resources from page templates.
Getting support
Contact the team using the #lightning-agency-support slack channel.