Get Started with Square Dashboard Add-Ons
Learn how to install and use the Square Dashboard Add-ons CLI to build, test, and deploy Add-on packages from your local development environment to the Square Dashboard.
This getting started guide describes the typical process for creating a new Dashboard Add-on. Here’s a rundown of the steps:
- Install the CLI
- Create a new Add-on
- View your local Add-on in the Square Dashboard
- Open and launch an Add-on
Prerequisites
To complete this getting started guide, you must meet the following prerequisites:
Confirm you have the above tools by running node --version and then npm in a terminal window.
-
A Square developer account, with a registered application.
- Copy your application ID from the Credentials or OAuth page in the Developer Console so you can provide it to the Square team.
-
You have been added to a feature flag so that you can perform local testing. If you need assistance with being added or if additional issues occur, send an email to dashboard-add-ons-alpha@squareup.com with your request.
Step 1: Install the CLI
The Square Add-Ons CLI provides commands you can use to initialize your Add-On, and test it locally.
-
On Linux or macOS: unpack and unzip the
square-cli-0.1.3.tgzfile that you received from the Square team. This creates apackagefolder in the source directory.On Windows, you can unpack the file by opening a Powershell window, and extracting it with this command:
tar -xvzf .\square-cli-0.1.3.tgz -
In a terminal window, navigate to the
packagefolder and run the following commands from the source directory:npm i --omit=dev npm linkThis creates the global
square-clilink, which allows you to usesquare-cli add-onscommands from the command line. -
The CLI should now be available in your path. To verify, run the
square-cli add-onscommand.square-cli add-onsYou should see the following output:
Create and manage your web-based add-on for the Square Dashboard. This includes creating a new add-on, deploying an add-on, and managing the add-on's lifecycle.
USAGE
  $ square-cli add-ons COMMAND
COMMANDS
  add-ons build   Build your add-on for publishing. This will build your add-on in production mode. The output will be in the dist directory. This command is used to prepare your add-on for publishing.  Note that running this command is optional because it runs automatically when you upload your add-on.
  add-ons dev     Build and launch your Square Dashboard Add-on in development mode. This will start a local server and open your add-on in the browser. It will also watch for changes and rebuild your add-on as you make changes.
  add-ons init    Initialize a new Square Dashboard Add-on. This will create a working starter add-on, including working sample code, valid placements, and more!
  add-ons upload  Upload your add-on to Square for hosting
Step 2: Create a new Add-on
-
In a terminal window, run the following and follow the prompts:
square-cli add-ons initAfter running this command, you will be asked to choose a placement. Supported placements are
Home widgets,Customer View, andItems View. For this getting started guide, chooseHome widgetsfor your first Add-on placement. -
Change your directory into your new Add-on folder that you specified
Step 3: View your local Add-on in the Square Dashboard
-
In your Add-on folder, run the following in a terminal window:
square-cli add-ons devThis command starts the Add-on on a local development server, opens a browser window with the correct parameters, and launches you into the Square Dashboard if you’re logged in to your Square account. If you’re not already signed in, the browser opens the Square account sign-in page.
If you ever reload the page, navigate away, or have trouble seeing your Add-on, you may have to open the page again with the correct parameters. Simply click the link in the output from the
square-cli addons devcommand to open the Square Dashboard back up with the correct paremeters for local testing. -
Navigate to the Dashboard Home page to scroll down the page and view your Add-on.
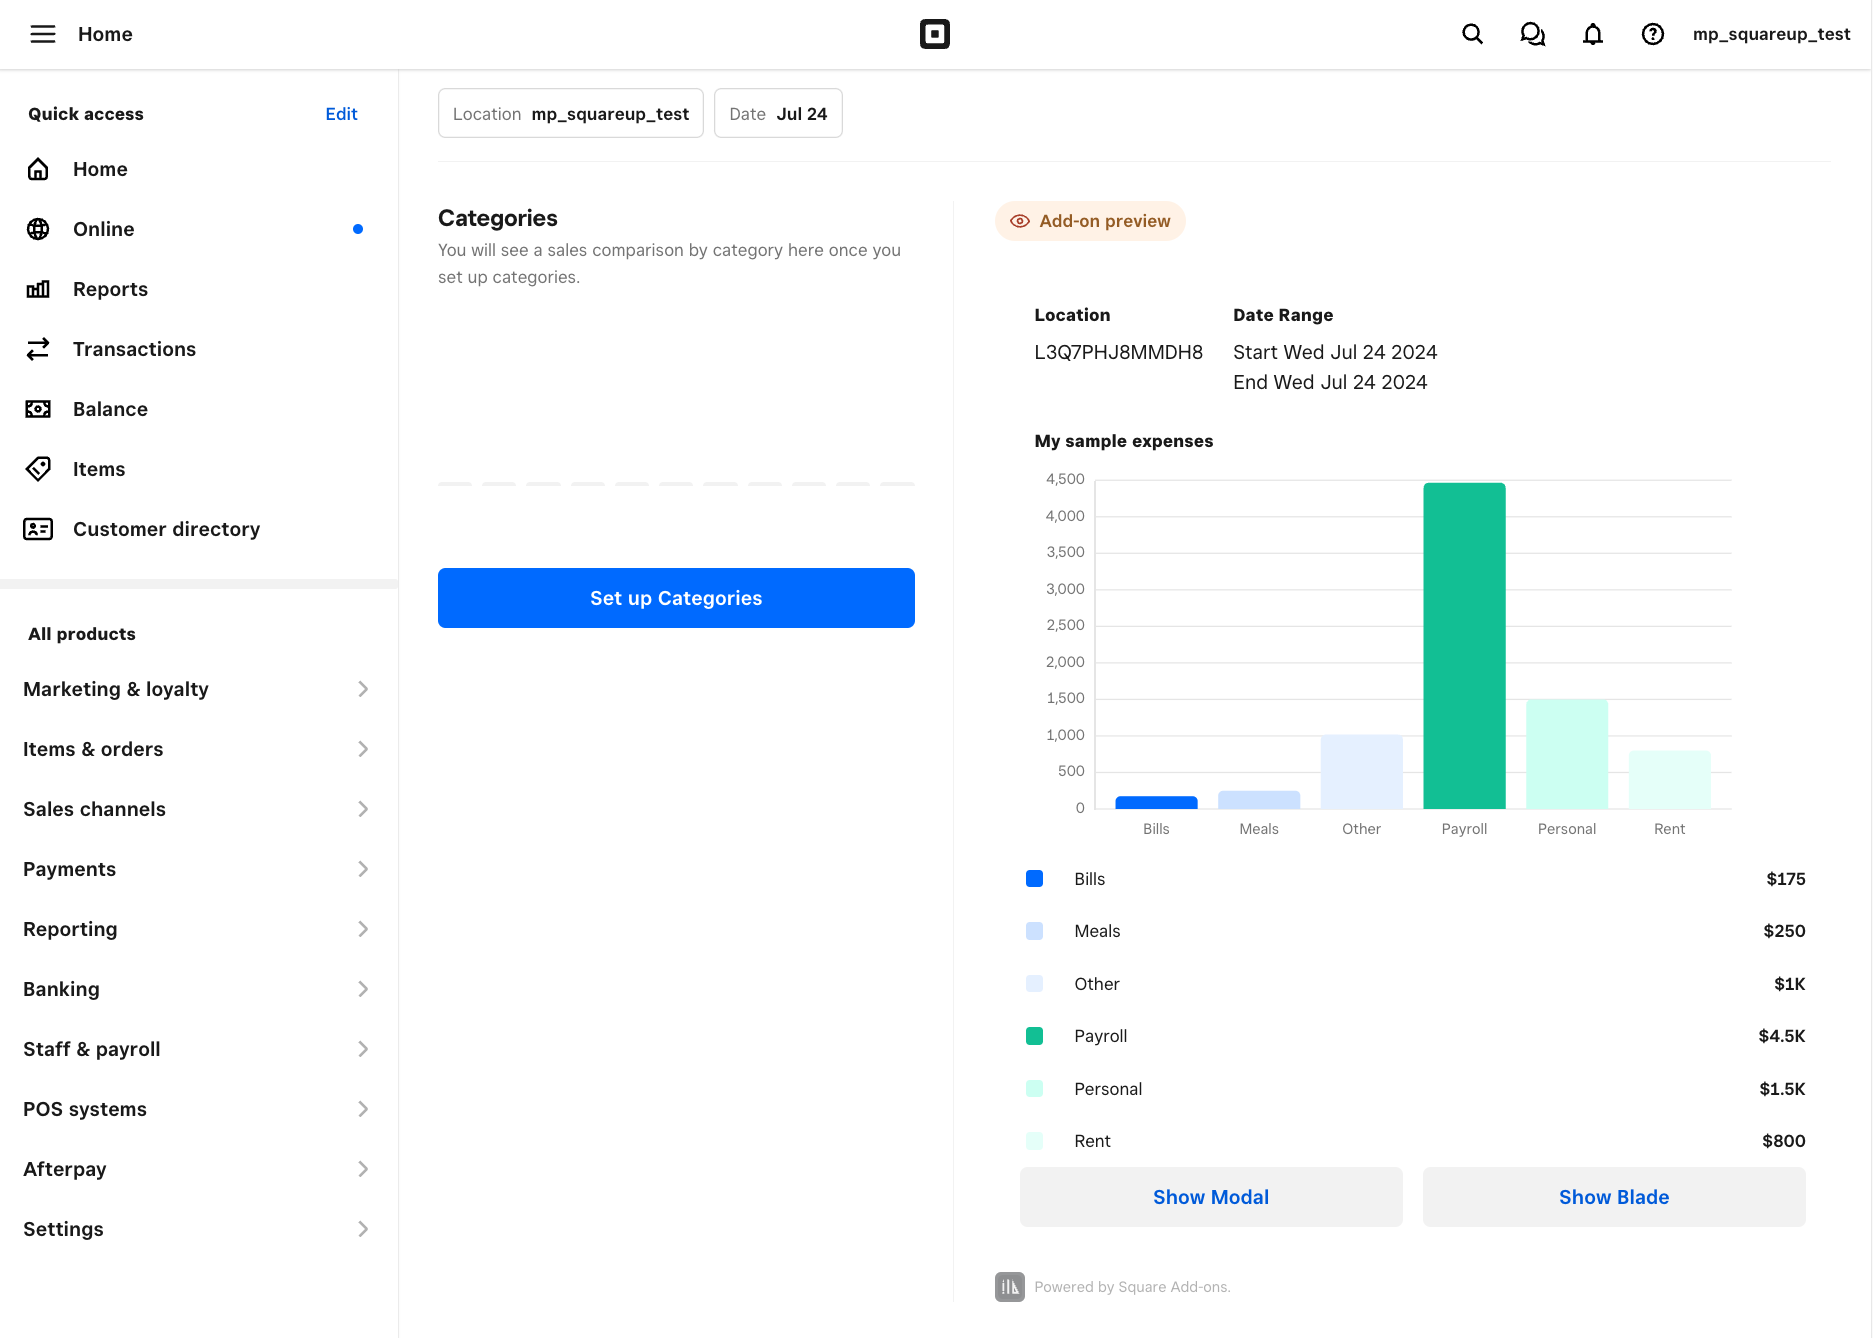
Step 4: Open and launch an Add-on
The Dashboard Home page displays a preview example of an Add-on that renders the following components:
- Vertical bar chart that passes sample data for expenses
- Box
- Buttons
- Text and passed values for the location ID and the date range
Next steps
For more information on local testing, view our Local Testing guide.